
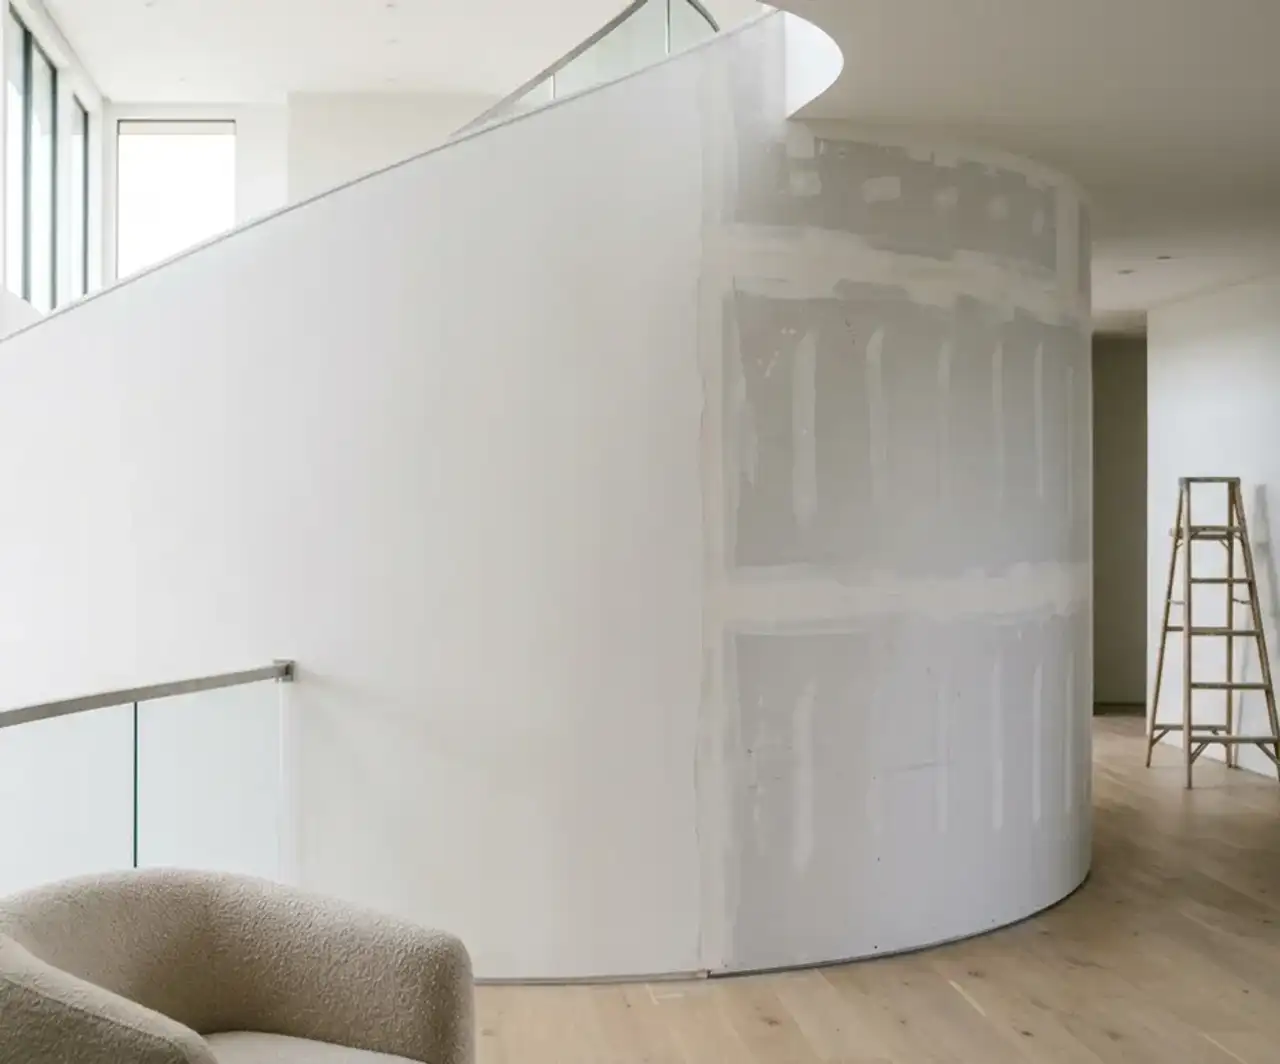
Signs you need this
- • Faint seams, fastener dimples, or a subtle wave visible across a wall or ceiling when a lamp or window throws light at a low angle
- • A wall left rough or uneven after wallpaper was stripped, showing paper fibers, adhesive residue, and gouges through the paper backing
- • An older textured or heavily patched wall that reads as dated next to a room the homeowner is otherwise renovating to a clean, modern look
- • Gloss or satin paint on a standard-finish wall that makes every minor imperfection visible instead of hiding it
This comes up most often for homeowners on the West Side and in Shrewsbury doing a design-driven renovation who want walls and ceilings flat enough for a specified gloss, satin, or accent paint. It’s just as common from anyone who stripped old wallpaper and is left with a rough, patched, or fiber-scarred wall, owners of older homes with heavily textured or repeatedly patched walls who want a modern flat look, and new-construction or addition owners who want their drywall finished to a higher standard than the contractor-grade Level 4 default, especially in rooms with strong natural light or accent lighting.
Worcester Drywall & Plaster applies a full-surface skim coat, a thin, even layer of joint compound troweled across an entire wall or ceiling, to eliminate seams, texture, and minor imperfections and bring the surface to a Level 5 finish. This is different from patching a specific spot; the compound goes edge to edge across the whole surface, then gets sanded and often primed with a drywall primer that further evens out how the surface absorbs paint. The result is a wall or ceiling flat and uniform enough that raking light from a window or a gloss paint sheen will not reveal the underlying seams or fastener pattern.
Bringing a Wall to a True Level 5 Finish
A skim coat is not a repair. It is a finish upgrade applied across an entire surface, edge to edge, to erase the small imperfections that a standard drywall job leaves behind: taped seams, fastener dimples, and the faint texture variation between the paper face of the board and the compound over the joints. Worcester Drywall & Plaster treats this as its own discipline, separate from patching damage or matching an existing texture. The goal here is the opposite of texture: a wall or ceiling flat enough that light passing across it at any angle shows nothing but a clean, even plane.
Why GA-214 Draws the Line at Level 5
The Gypsum Association’s GA-214 standard defines drywall finishing in six levels, from Level 0, unfinished, up through Level 5, a full skim coat over the entire surface. Level 4, taped seams and a couple of coats of compound feathered out over the joints, is the standard most contractors deliver and it holds up fine under flat paint and average room lighting. The gap between Level 4 and Level 5 only becomes visible under specific conditions: a large window throwing low-angle light across a wall in the late afternoon, a row of recessed ceiling fixtures grazing the surface, or a gloss or satin paint that reflects more light than a flat finish absorbs. Under any of those conditions, a Level 4 wall shows flashing, a subtle shadow pattern that traces every taped seam and fastener line. A Level 5 skim coat solves this by adding a thin, uniform layer of compound across the whole surface, not just the joints, so the paint has one consistent texture to sit on top of rather than a patchwork of taped and untaped areas.
Where This Work Concentrates in Worcester
Level 5 finish requests in Worcester cluster heavily in design-driven renovations rather than routine repairs, and that shows up geographically. The affluent West Side and Shrewsbury see a steady stream of full renovations where a homeowner or designer has specified a particular gloss paint, an accent wall finish, or simply a higher standard of wall quality than a standard build delivers. In these projects, the skim coat is planned into the job from the start, often alongside new construction or a gut renovation, rather than requested as an afterthought once a finished wall already looks disappointing under a new light fixture.
Skimming Over Old Texture and Wallpaper Damage
Not every Level 5 job starts with bare new drywall. A large share of the work in older Worcester homes is skimming directly over an existing textured wall or a surface torn up from wallpaper removal. Stripping decades-old wallpaper frequently tears through the paper facing of the drywall underneath or leaves behind adhesive residue and shallow gouges, and trying to patch dozens of small spots individually never produces a clean result. A full skim coat resurfaces the entire wall in one continuous pass, building up over the texture or damage evenly rather than trying to feather around it. This takes more material and more coats than skimming new board, since the compound has to fully bury whatever pattern or damage sits underneath, but it avoids tearing out and replacing walls that are structurally fine and only cosmetically dated.
The Coat-by-Coat Process
A true Level 5 finish is built in thin layers, not one thick pass. Worcester Drywall & Plaster applies the first skim coat across the full surface, lets it dry, and checks it with a raking light, a work light held at a low angle to expose anything the eye misses under normal room lighting. Any spot still showing texture, a seam, or a low area gets a second, and sometimes a third, coat, each one sanded smooth before the next goes on. This is deliberately incremental. Rushing to one thick coat instead of several thin ones produces cracking and an uneven texture that actually shows up worse under the exact lighting conditions the homeowner is trying to solve for. The last step before paint is priming with a drywall-specific primer, which evens out how the fresh compound and any surrounding original board absorb paint, since inconsistent absorption is its own way for a wall to look unfinished even after a technically flawless skim.
Related Work
Skim coat and Level 5 finish work often follows wallpaper removal, or repair of any existing damage or loose plaster that would telegraph through the new surface. Interior painting, especially gloss or satin finishes, depends on a flat Level 5 surface to look right and typically follows once the skim coat is complete. This work is often combined with new drywall installation on additions or renovated rooms where the homeowner specifies Level 5 as the finish standard from the start.
Materials & standards
Products & materials we use
- USG Sheetrock
- National Gypsum Gold Bond
- CertainTeed
- Georgia-Pacific ToughRock
- DensGlass
Standards & codes we work to
- GA-214 (Gypsum Association finish Levels 0-5)
- 780 CMR (Massachusetts State Building Code)
- ASTM C1396
- Massachusetts Construction Supervisor License (CSL)
- Massachusetts Home Improvement Contractor (HIC) registration
- Gypsum Association finishing standards
- Manufacturer installer programs
What the terms mean
- Skim coat
- Level 5 finish
- Flashing under raking light
- Joint compound
- Mud and tape
- Drywall primer
- Feathering
- Sanding between coats
Options & variants
| Option | When it applies | Cost |
|---|---|---|
| Level 5 skim on new drywall | New construction or addition where a premium flat finish is specified upfront | Priced as an upgrade over standard Level 4 finishing |
| Skim over existing textured walls | Homeowner wants to eliminate an outdated texture and go flat | Moderate to higher cost depending on texture depth |
| Skim after wallpaper removal | Wall surface is scarred, patched, or torn after stripping old wallpaper | Moderate cost, driven by how much surface repair is needed first |
| Ceiling-only Level 5 | Homeowner wants a flat ceiling under strong lighting but is keeping standard walls | Lower cost than a full-room skim |
What affects cost
- • Total square footage being skimmed, since this is a full-surface treatment rather than a spot repair
- • Starting condition of the surface. A wall scarred from wallpaper removal or heavily textured needs more prep and more coats than a clean, unfinished wall
- • Number of coats needed to reach a true Level 5, since a flat finish under strong or raking light takes more passes and more sanding than a standard Level 4
- • Ceiling height and access, since scaffolding or extension tools add labor on taller rooms
- • Whether trim, outlets, and fixtures need to be masked and reset around the work area
- • Lighting and paint sheen planned for the room. A gloss or satin paint under harsh natural light demands a more exacting finish than a flat paint in a low-light hallway
What to expect
- 1
Inspect under raking light
Worcester Drywall & Plaster inspects the wall or ceiling under the room's actual lighting, including a raking-light check, to identify every seam, dimple, and texture variation that needs to be addressed.
- 2
Repair the surface first
Any existing damage, old wallpaper residue, or loose material gets repaired or removed first, since skimming over an unstable surface just telegraphs the problem through.
- 3
Apply the first skim coat
A thin, even layer of joint compound is troweled across the full surface, then allowed to dry.
- 4
Sand and repeat to Level 5
The surface is sanded smooth and a second or third skim coat is applied as needed to reach a true Level 5, checking with a raking light between coats.
- 5
Prime and review
The finished surface is primed and reviewed with the homeowner under the room's actual lighting before paint goes on.
When this isn’t the right call
- If the goal is adding or matching an existing sprayed or hand-applied texture rather than eliminating it, that is texture matching, not a skim coat.
- If the wall or ceiling has active water damage, staining, or soft board underneath, that needs water damage drywall repair first, since skimming over unresolved damage wastes the finish work.
- If the surface is original lath-and-plaster and failing structurally rather than just cosmetically rough, that is a conversation about plaster repair and conversion.
- If a single small patch is the only issue and the rest of the wall is already flat and fine, a standard spot repair and finish match is enough; a full Level 5 skim is unnecessary cost for one flaw.
Frequently asked questions
What's the actual difference between a Level 4 and a Level 5 finish? +
Level 4 is the standard drywall finish most contractors use, fine for flat or eggshell paint in average lighting. Level 5 adds a thin skim coat across the entire surface on top of that, which evens out how the paint absorbs and eliminates flashing, the shadowy pattern where taped seams show through under raking light or a glossier sheen. GA-214, the industry finish-level standard, is where that distinction comes from.
Do I need Level 5 everywhere, or just in certain rooms? +
Not everywhere. Level 5 matters most where lighting is unforgiving: a wall lit by a large window at a low angle, a ceiling under track or recessed lighting, or any surface planned for gloss or satin paint. A hallway with flat paint and even lighting rarely needs it. Worcester Drywall & Plaster walks the room's actual lighting with the homeowner before recommending where to spend the upgrade.
Can you skim coat over an existing textured wall? +
Yes, that's one of the more common requests. Skimming over an orange peel or knockdown texture to go flat takes more material and more coats than skimming new drywall, since the texture has to be built up over evenly, but it's a standard way to modernize an older textured room without tearing out the existing walls.
I just had wallpaper removed and the wall looks torn up. Is a skim coat the fix? +
Usually, yes. Wallpaper removal often tears through the paper facing of the drywall or leaves adhesive residue and gouges. A full skim coat resurfaces the wall to a clean, paintable surface rather than trying to patch dozens of small spots individually.
How many coats does a true Level 5 finish actually take? +
It depends on the starting surface, but a skim coat over an already-finished wall typically runs two to three thin coats with sanding between each, checked against a raking light. New construction going straight to Level 5 from the taping stage follows a similar coat count as part of the standard finishing sequence.
Will this work on ceilings too, not just walls? +
Yes. Ceilings are actually where Level 5 gets requested most often, since ceiling lighting, whether a window, a skylight, or recessed fixtures, tends to rake across the surface at exactly the angle that reveals seams on a standard Level 4 finish.
Is this the same as plaster restoration? +
No. A skim coat is a joint compound finish applied over drywall or sound plaster to achieve a flat, smooth surface. It's a finishing technique, not a plaster repair. If the underlying plaster itself is cracked, loose, or failing, that's addressed as plaster repair before a skim coat finish would ever go over it.